Omg i dunno how long I have not updated this blog......I was very busy with a solid class schedule , so , forgive me~~٩(⌯꒦ິ̆ᵔ꒦ິ)۶ᵒᵐᵍᵎᵎᵎ
Okay! Just this time I will give you a tutorial make-colored clothing~
we will use the base body of the previous post

create a new layer above the "body layer" to create sketches for clothes.
(you can create and design the clothes for your character according to your own taste and imagination (●・ω・●)/)

you get the sketch for cloth's base !
*★*―чёs♪d(`・c_,・´)bчёs♪―*★*
we will work on the top of the shirt (b゚_○゚) then, we can close the layer "basic body" for a while in order to focus.
select a basic color of clothing that you want and paint like block all parts of clothing.
select a basic color of clothing that you want and paint like block all parts of clothing.
I love Red-color so much ❤ , so....I will color this dress in red, the base color I used was a little orange red color.

select the color a bit closer than the base color (dark orange) to red on the color palette to get a more concentrated red color.
(the direction of the light coming from the left, then I will make a block for a shadow on the left)

then , blend it well
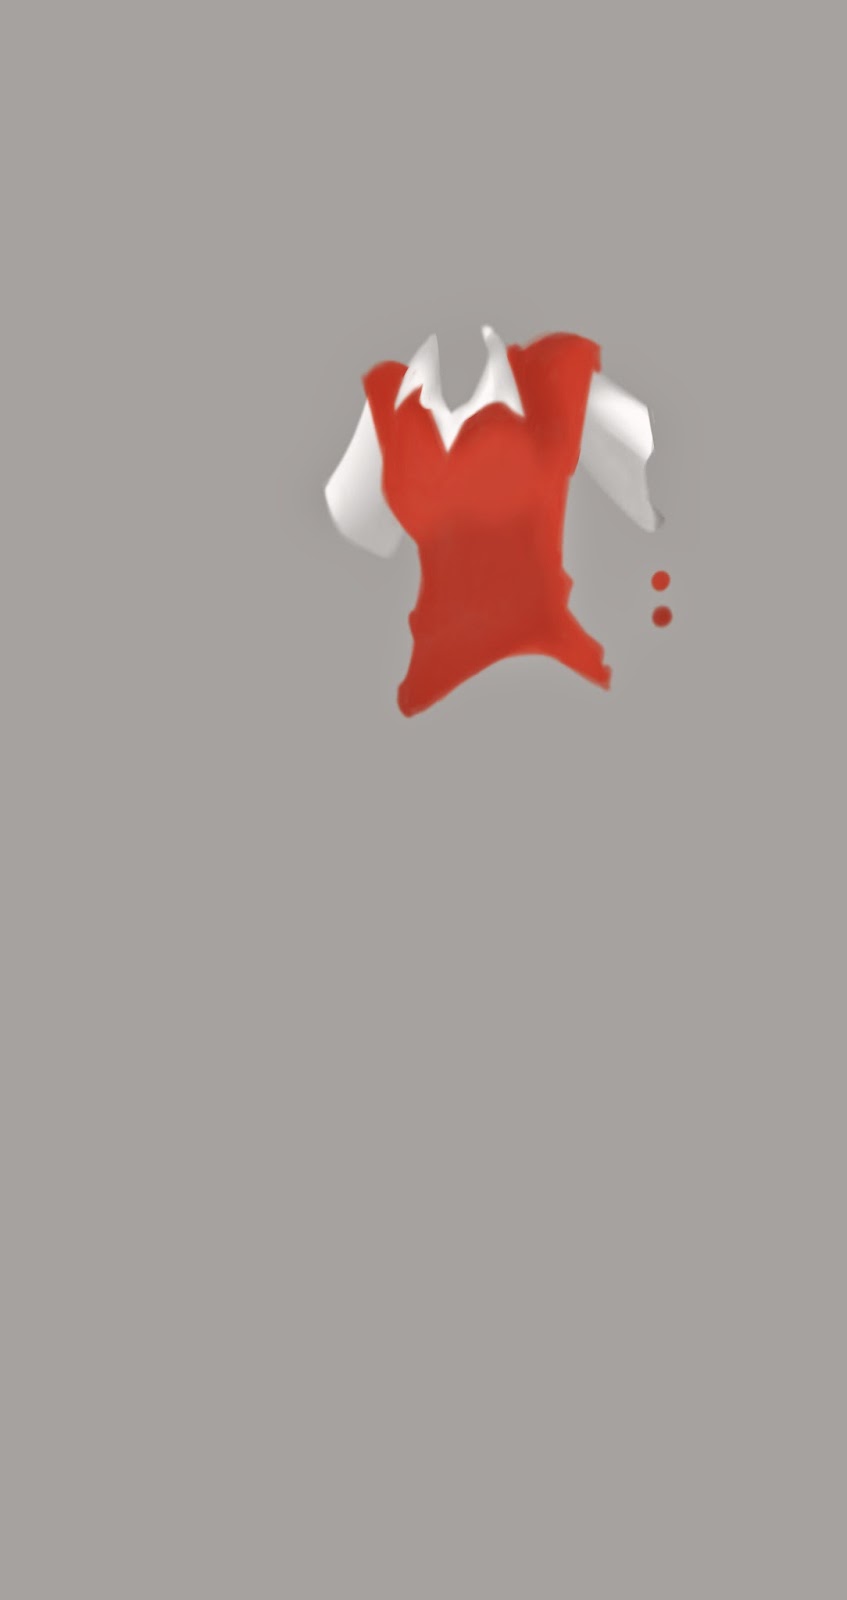
repeat the previous steps to take on a more intense red color.
create a block to use the color shading shadow. section falls the shadow is at the opposite to the direction of the incident light (don't forget the part of the curve of clothes)

blend it well

how? satisfied with the results?
but wait, we are still able to get a more satisfactory result with light effects~ o(●´ω`●)oわくわく♪
choose a light color from the first base color you choose.
remember, don't use white color to give the effect of light!! because would make it look less natural.
but wait, we are still able to get a more satisfactory result with light effects~ o(●´ω`●)oわくわく♪
choose a light color from the first base color you choose.
remember, don't use white color to give the effect of light!! because would make it look less natural.
color block in the direction of light, and in the curve that stand out

blend it well , and you get ( ´艸`)

put some detail
and you get the final result (★ゝω・)b゚・:*:・Congratulations・:*:・゚

(★’ω’)ノ*+:。.。:+*THANK YOU FOR READING*+:。.。:+*ヽ(‘ω’☆)
don't forget to visit my Facebook Page and Deviantart
also comment and rate in this post


I will give the final result of my pictures , dpn't forget to show me yout result too ヾ(ゝω・`)o
see you again!(*ゝェ・)/~☆Bye-Bye♪
with extra full of love,
tamakiBaka


